How to Master Rotations and Map Pressure in Wild Rift
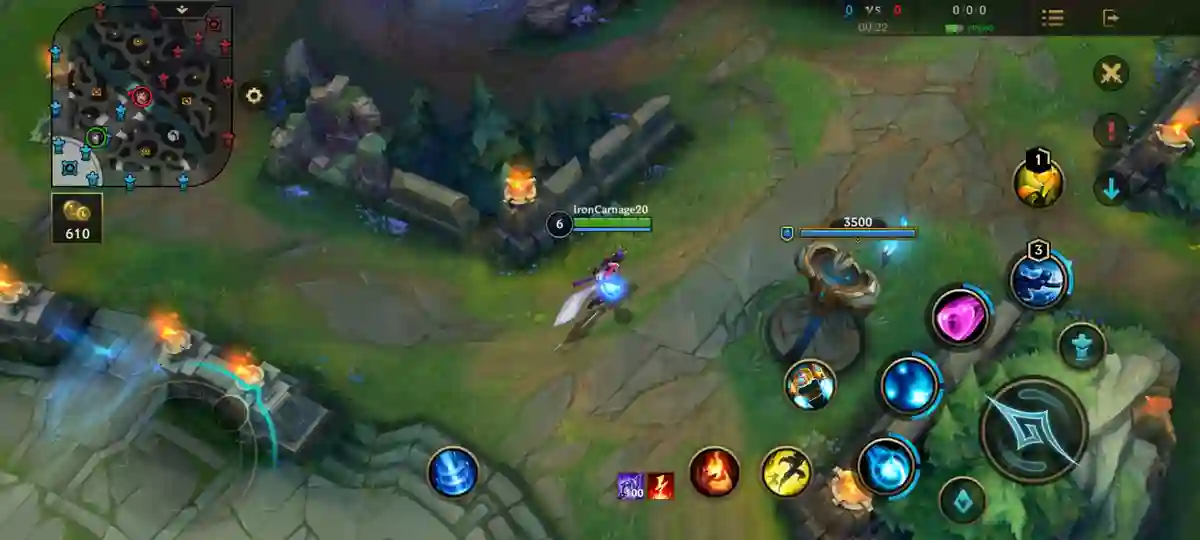
Tinylabproductions – Effective map control is crucial in Wild Rift. Knowing when and where to move your team can be the difference between a win and a loss. Understanding objective prioritization and lane assignments is key. This guide breaks down complex concepts into actionable strategies.
We will explore optimal wild rift strategy rotations to maximize your team’s potential. Learn how to adapt to various game states and enemy compositions. Mastering these techniques will elevate your gameplay and improve your win rate. Get ready to dominate the Rift!
Understanding Core Rotation Concepts
Rotations refer to the strategic movement of players across the map. The goal is to secure objectives, apply pressure, and gain a gold advantage. It involves calculated decisions based on enemy positions and objective timers. Successful wild rift strategy rotations often involve coordinated team play.
Objective Prioritization
Not all objectives are created equal. Dragons, Rift Herald, and Baron Nashor offer significant advantages. Consider the risks and rewards before committing to an objective. Team composition and enemy positioning must factor into the equation. Always weigh the potential outcome against the resources spent.
Prioritize objectives that synergize with your team’s strengths. A scaling team might focus on securing dragons for late-game power. A team with strong early-game pressure may prioritize Rift Herald. Making informed choices will lead to better results in the long run. Always communicate with your team.
Consider the impact on map control. Securing an objective grants vision and denies it to the enemy. This information advantage allows for safer rotations and engages. Control wards are essential for securing vision. Proper ward placement is key to successful rotations.
Lane Assignments and Swapping
Understanding lane assignments is essential for effective team play. The conventional setup usually involves a top laner, jungler, mid laner, and a duo lane. However, dynamic lane swaps can create advantageous matchups. These swaps can force the enemy team to react.
Lane swapping is useful when your team has a weaker early-game composition. Moving a strong lane to face a weaker one can swing momentum. This strategy can also counter aggressive enemy laners. Coordinate lane swaps with your team to avoid confusion.
Recognize opportunities for lane swaps based on enemy weaknesses. A fed assassin in mid lane may need to be contained by a tanky top laner. Communication with your team regarding possible swaps is crucial. Adapt your strategy to maximize your chances of winning.
Read More: The Rise of ONIC Esports and Their Dominance in the 2025 Season
Early Game Rotations
The early game sets the stage for the entire match. Your initial rotations can heavily influence future map control. A well-timed gank or a strategic ward placement can disrupt the enemy’s plans. Focusing on early advantages often leads to a snowball effect.
Jungle Pathing and Ganking
The jungler plays a crucial role in early rotations. Their pathing should prioritize lanes with favorable ganking opportunities. Communicate with laners to set up successful ganks. Focus on securing early vision to track the enemy jungler’s movements. Efficient jungle clear speeds also matter.
Consider ganking lanes that are easily accessible and have strong crowd control. Utilize the minimap to anticipate enemy movements. Coordinate with your team to execute effective dives. A successful early gank can significantly impact the laning phase. Deny the enemy gold and experience.
Adapt your jungle pathing based on the enemy jungler’s tendencies. If they are an early-game invader, ward your jungle entrances. If they prioritize farming, focus on ganking lanes to apply pressure. Knowledge of the enemy jungler is very valuable. Adjust your path accordingly.
Dragon Lane Pressure
The dragon lane is a key area for early-game rotations. Securing early dragons grants permanent stat bonuses. Coordinate with your jungler to secure vision around the dragon pit. Prioritize dragon control when your team has an advantage. Be ready to contest or rotate accordingly.
Pushing waves to create pressure is essential. This allows your duo lane to roam and assist with vision control. Communicate with your support to coordinate roams. A well-timed roam can secure vision or assist in a mid-lane gank. Create opportunities for your team.
Be aware of potential dives from the enemy jungler and mid laner. Position yourselves safely and avoid overextending. Communicate with your team if you suspect a dive is imminent. Effective communication is key to surviving early ganks. Use wards for safety.
Read More: How to Upgrade Buildings Faster in Clash of Clans
Mid Game Rotations
The mid game is where teams transition from laning to coordinated plays. This phase often revolves around securing objectives. Team fights become more frequent, and rotations are more complex. Adapt your rotations based on the unfolding events.
Grouping for Objectives
Grouping as a team is crucial for securing mid-game objectives. Communicate with your team to coordinate your movements. Focus on securing vision around the objective before committing. Coordinate your engage and peel strategies. The baron pit becomes very important during this phase.
Consider the enemy team’s composition and positioning. If they are grouped closely, look for opportunities to flank them. If they are split pushing, assign defenders to protect your towers. Always anticipate the enemy’s next move. Be prepared for anything.
Don’t blindly commit to an objective if the enemy team has a clear advantage. Consider giving up the objective and focusing on other areas of the map. Sometimes, a strategic retreat is the best option. Cut your losses when necessary and regroup.
Split Pushing and Map Pressure
Split pushing involves sending one or two players to push a lane while the rest of the team applies pressure elsewhere. This strategy forces the enemy team to split their attention. A well-executed split push can create advantageous situations. Keep an eye on your split pushers.
Assign a champion with good dueling potential to split push. Communicate with your team to coordinate the split push. If the enemy team sends multiple players to defend, your team can engage elsewhere. A successful split push requires good communication.
Be aware of the risks involved in split pushing. A split pusher can be easily caught out if they are not careful. Wards are essential for split pushers to track enemy movements. Communicate with your team if you are in danger. Only split push when it benefits your team.
Late Game Rotations
The late game is where small mistakes can have devastating consequences. Focus on securing Baron Nashor and Elder Dragon. Team fights become decisive, and rotations are crucial for victory. Staying coordinated is key to success in this phase.
Baron Nashor and Elder Dragon Control
Baron Nashor and Elder Dragon are game-changing objectives in the late game. Securing Baron Nashor grants significant damage and sustain. Elder Dragon provides a powerful execute. Prioritize these objectives when they are available. Map control is essential for securing them.
Ward extensively around the Baron and Dragon pits. Track the enemy jungler’s position to anticipate potential steals. Coordinate with your team to engage and secure the objective. Focus fire on the enemy jungler during the fight. Don’t let them steal the objective.
Be patient and wait for the right opportunity to engage. Don’t force a fight if the enemy team has a clear advantage. A well-timed engage can turn the tide of the game. Patience and coordination are key to securing late-game objectives.
Sieging and Base Defense
Sieging involves pushing into the enemy base to destroy their inhibitors and Nexus. Base defense involves protecting your own base from enemy sieges. Effective rotations are crucial for both. Coordinate your movements and prioritize objectives.
Focus on destroying inhibitors to create super minion waves. These waves can apply significant pressure to the enemy base. Coordinate with your team to siege multiple lanes simultaneously. A multi-lane siege can overwhelm the enemy defenses. Be aware of potential ambushes.
When defending, prioritize clearing minion waves to prevent tower damage. Assign defenders to protect vulnerable towers. Coordinate with your team to counter-engage and push back the enemy. Effective base defense requires communication and coordination. Stay calm and focused.
Adapting to Different Game States
Understanding how to adapt your rotations is vital for success. A team that is ahead should play aggressively and look for opportunities to close out the game. A team that is behind should play defensively and look for opportunities to catch up. Be flexible in your approach.
- When Ahead: Focus on securing objectives and applying pressure. Deny the enemy farm and vision.
- When Behind: Play defensively and look for opportunities to catch up. Farm safely and avoid unnecessary risks.
- Even Game: Focus on securing vision and controlling objectives. Be patient and wait for the right opportunity.
Staying flexible and adapting your rotations to the specific game state is crucial for winning. Analyze the situation and make informed decisions. Communicate with your team to ensure everyone is on the same page. Success comes from adaptability and teamwork.